
Introduction
Webhooks play a crucial role in modern web development, allowing applications to receive real-time data and updates from external services. SendGrid, a popular email service provider, offers webhooks to notify you of important email events such as email delivery, opens, and clicks. Testing these webhooks locally is essential to ensure that your application handles these events correctly before deploying to production. In this blog post, we will guide you through the process of setting up Ngrok, a powerful tunneling tool, to test SendGrid webhooks on your local development environment.
What is Ngrok?
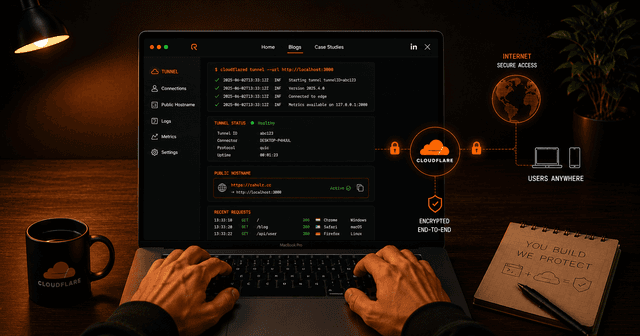
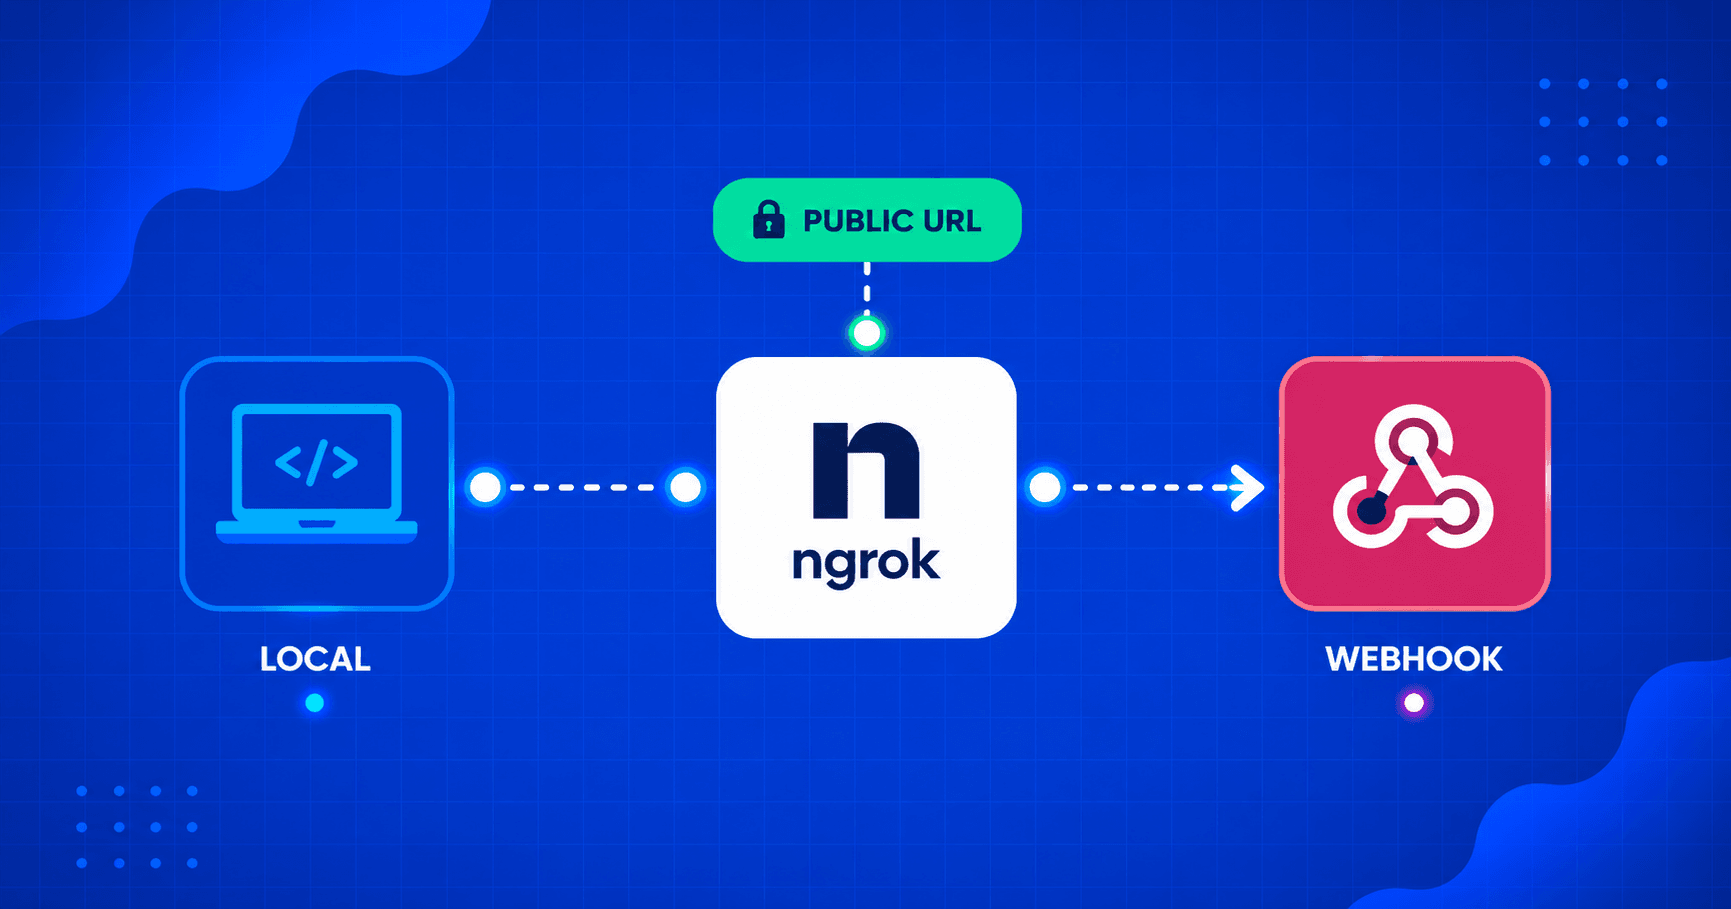
Ngrok is a powerful tool that creates secure tunnels from a public endpoint to a locally running web service. It allows you to expose your local server to the internet, making it accessible for testing or sharing with others. Ngrok acts as a middleman, forwarding requests from the ngrok-generated URL to your local server and vice versa.
Prerequisites
Before we begin, make sure you have the following:
- SendGrid Account: Sign up for a SendGrid account if you don't already have one.
- Ngrok Account: Signup for a Ngrok account. Download and install Ngrok from the official website
- A Web Server: You should have a local web server running (e.g., Node.js, Flask, Django, or any other web framework).
Installing ngrok on your local machine
Installing on MacOS
brew install ngrok
Installing on Windows
choco install ngrok
Configuring your ngrok CLI
Open a terminal window and sign in to your Ngrok account by running the following command:
ngrok config add-authtoken <YOUR_AUTHTOKEN>Replace YOUR_AUTH_TOKEN with your Ngrok authentication token, which you can find on your Ngrok account dashboard.
Exposing your local machine to the internet
It's time for our local web server to show some vulnerability to others on the internet 😉
To expose your local web server to the internet, run the following command, replacing PORT_NUMBER with the port your web server is running on (e.g., 8000):
ngrok http <PORT_NUMBER>By opening a tunnel, Ngrok tunnels traffic to the local server. This URL is accessible from anywhere on the Internet.
Configure SendGrid Webhooks
Now that you have a public URL, you can configure SendGrid to send webhook events to it:
- Log in to your SendGrid account.
- Navigate to "Settings" and select "Mail Settings."
- Scroll down to the "Event Webhook" section and enable it.
- In the "HTTP POST URL" field, enter your Ngrok URL followed by the endpoint where you want to receive webhook events (e.g., https://abc123.ngrok.io/webhooks/sendgrid).
- Save your settings.
Test SendGrid Webhooks
To test your SendGrid webhooks, you can send test emails through SendGrid or trigger events like email deliveries, opens, or clicks. SendGrid will send data to the Ngrok URL you specified, allowing you to verify that your webhook endpoint is working correctly.
Monitor and Debug
Use Ngrok's web interface to monitor incoming requests and debug any issues with your webhook endpoint. This interface provides detailed information about the requests and responses, helping you troubleshoot problems effectively.
Note: Ngrok starts the request inspection interface on port http://localhost:4040
Conclusion
Setting up Ngrok locally to test SendGrid webhooks is a crucial step in ensuring that your application can handle email events accurately. With Ngrok, you can expose your local development environment to the internet securely, making it easy to test and debug your webhook endpoints. By following the steps outlined in this blog post, you'll be well-equipped to develop and maintain robust email notification systems with SendGrid.